Creating a powerful online presence entails optimizing your website for better SEO. Adding alternative text, commonly known as alt text, to images in WordPress is a crucial step towards achieving this. Alt text serves as a brief description of an image that appears when the image fails to load or when a user uses a screen reader.
Here’s an easy-to-follow guide on how to add alt text to images in WordPress:
Step 1: Access Your WordPress Dashboard
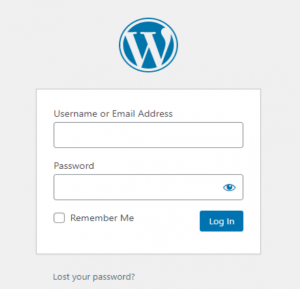
First, access your WordPress dashboard by typing your website URL and/wp-admin (e.g., www.yourwebsite.com/wp-admin) into your web browser. Provide your username and password to access the dashboard.
Step 2: Choose the Image You Want to Add Alt Text To
Select the post or page where the image you want to add alt text is located. Click on the image to pick it.
Step 3: Edit the Image
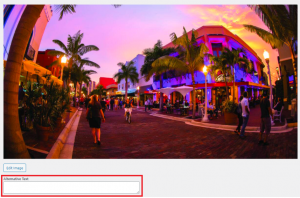
After choosing an image, hit the edit button at the bottom of the image.
Step 4: Add Alt Text to the Image
Upon clicking the edit button, a new screen will pop up, allowing you to edit the image details. Type a clear, concise description of the image that accurately represents its content in the Alternative Text field.
Step 5: Save Your Changes
Once you have added the alt text to the image, save the changes by clicking the “Update” button.
Step 6: Verify the Alt Text
After adding the alt text, ensure it has been correctly added. To do this, right-click on the image and choose “Inspect” (if you’re using Chrome) or “Inspect Element” (if you’re using Firefox). This will open the developer tools, where you can see the alt text beneath the image properties.
Step 7: Repeat the Process For Other Images
Repeat the above steps for any other images that require alt text.
Following these easy steps will allow you to quickly and effectively add alt text to images in WordPress. This enhances your website’s SEO and makes it more accessible to all users.


