Hey there! If you want to set up a bulk scan scheduler in LocalFalcon, here’s what you need to do:
Step 1: Log in to your LocalFalcon account.
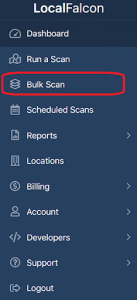
Step 2: Once you’re logged in, go to the “Bulk Scan” tab and click on it.
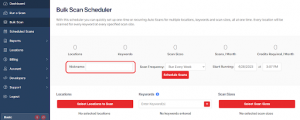
Step 3: Add a nickname for your scan so you can easily identify it.
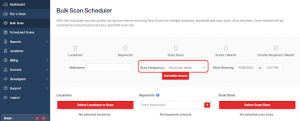
Step 4: Select a “Scan Frequency.” This determines how often your scan will run.
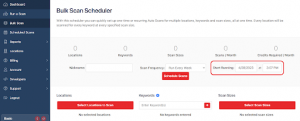
Step 5: Choose when you want to “Start Running” your scan.
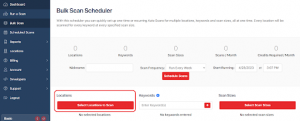
Step 6: Click the “Select Locations to Scan” button and choose the locations you want to include in your scan.
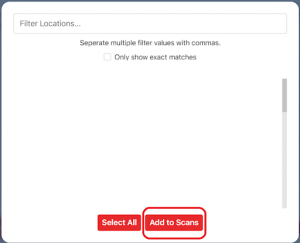
Step 7: Click the “Add to Scans” button after selecting your locations.
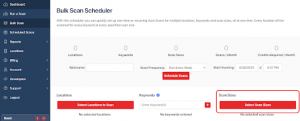
Step 8: Click the “Select Scan Sizes” button and choose your preferred radius. This determines how far out the scan will go from each location.
Step 9: Click the “Add Scan Size” button after choosing the radius.
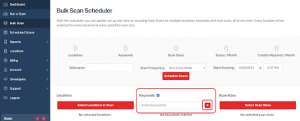
Step 10: Enter the Keyword(s). After you Enter a Keyword(s), click the + button.
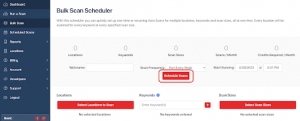
Step 10: Finally, click the “Schedule Scans” button to set up your bulk scan scheduler.
That’s it! Following these simple steps, you can easily set up a bulk scan scheduler in LocalFalcon. This will help you stay on top of your local SEO performance and make data-driven decisions to improve your rankings.

