1.) First things first, bust a move to your new WordPress site’s dashboard. If you haven’t created a new site yet, it’s time to get on that ASAP!
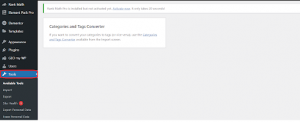
2.) Check out the menu on the left-hand side of your screen and tap on the “Tools” option.
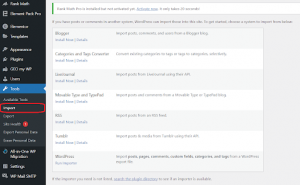
3.) A sweet list of tools will appear, and you’ll want to tap on the “Import” button to proceed.
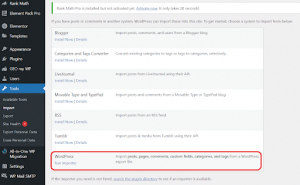
4.) This will bring up a screen with a bunch of options for importers. Choose the “WordPress” option, homie.
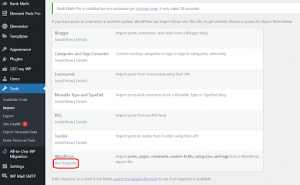
5.) Time to get down to business and hit up that “Install Now” button to get the WordPress importer plugin installed.
6.) Once the plugin is installed, click on the “Activate Plugin & Run Importer” link to continue.
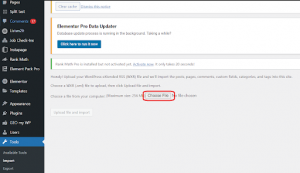
7.) Next up, it’s time to select the XML file that contains your website’s content that you exported earlier. Get on that and choose the right file, champ.
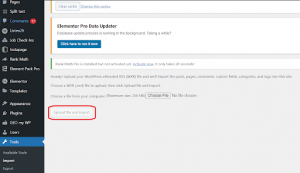
8.) Hit up that “Upload file and import” button to start the import process.
9.) You’ll be prompted to assign the content to a user on the new site. Choose an existing user from the drop-down list or create a totally new one.
10.) Last but not least, tap that “Submit” button to complete the import process.
Note: Keep in mind that the import process may take some time, depending on the size of your website’s content. Once the import is complete, be sure to give your website a thorough test to make sure that everything has been successfully transferred.


