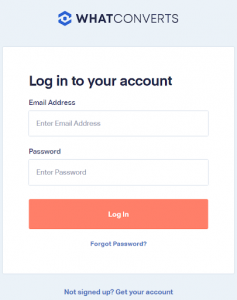
Step 1: Log in to your WhatConverts account
Go to the WhatConverts website and log in to your account using your email and password.
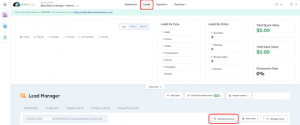
Step 2: Locate the Choose Columns Tab
To check the new custom field, do this, head to the “Leads” section in the top menu. Scroll down and look for the “Choose Columns” button.
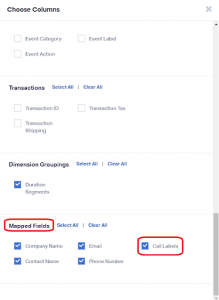
Step 3: Locating the new Custom Field
Click “Choose Columns” and look for the “Mapped Fields.” You can see the new Custom Field and ensure the check button is checked.
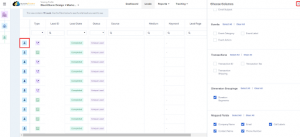
Step 4: Checking if the new Custom Field is Added Successfully
Once ensuring the check button is checked. Close the Choose Columns window by clicking the “X” button and then click the “View Lead” Icon.
Step 5: Double Checking if the new Custom Field is Added Successfully
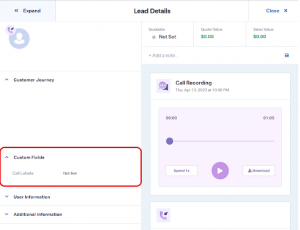
After clicking the “View Lead” icon, You are in the Lead Details Tab. Click the “Custom Fields,” You have successfully found the new custom field created and can now set or use it.
Step 6: Ensuring the New Custom Field is Working Successfully!
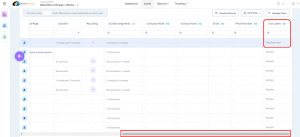
Click the “Close X” button, scroll the “Scroll Bar” to the right, and now you can see that the new custom field is working successfully.
Following these steps, you can tirelessly locate the newly added custom fields to your WhatConverts account and collect supplementary information about your leads.

