WhatConverts is a sophisticated tool that empowers you to track leads and optimize conversions by keeping tabs on the sources of your leads and analyzing your website’s performance. One of the niftiest features of WhatConverts is the ability to create custom fields. These fields allow you to collect supplementary information about your leads and customize the data in your WhatConverts reports. This guide will walk you through adding custom fields on WhatConverts.
Step 1: Access your WhatConverts account
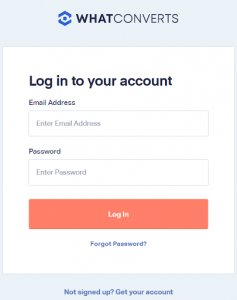
Head over to the WhatConverts website and log in to your account using your email and password.
Step 2: Navigate to the Custom Fields section
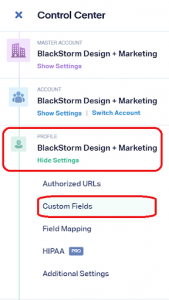
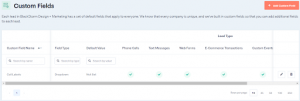
Once logged in, click on the “Profile Settings” tab at the top-left of the page, then select “Custom Fields.”
Step 3: Create a new Custom Field
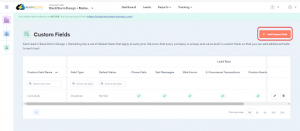
Click the “Add Custom Field” button to add a new custom field. This will prompt you to fill out a form with the details of your new custom field.
Step 4: Enter Custom Field Information
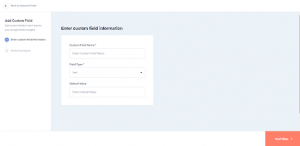
In the custom field form, you’ll be prompted to name the field and choose its field type – text or dropdown. And enter the default value. Then after setting it up, click “Next Step.”
Step 5: Selecting Lead Types and Save the Custom Field
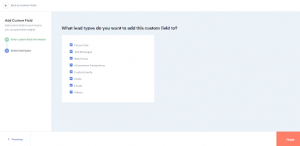
Once you set up the custom field information for your new custom field, select the lead types you need and hit “Finish” to add them to your account.
You have now successfully added your new Custom Field.
Following these steps, you can seamlessly add custom fields to your WhatConverts account and collect supplementary information about your leads. With custom fields, you can add labels and optimize your lead-tracking strategies for maximum effectiveness.

